

Background:
Every November, Surin, a north-eastern province in Thailand, holds its annual Elephant Roundup,
one of Thailand's most popular festivals. The Inhabitants of Surin
were renowned for catching and training elephants, who have been a
prominent feature of Thai art, literature and legend, thanks to their
importance both in labour and war. The Mahout and his
elephant have a special relationship; in daily life man and elephant
need to depend on each other, and as such the elephant is usually
treated as part of the 'family'. This life-long relationship is an
integral element of Kui culture, tradition and the way of life.

Nowadays Thai elephants are almost exclusively bred instead of captured due to their dwindling numbers in the wild, and
the Surin Elephant Roundup show has been held annually since 1960 to
commemorate the importance of the elephant and his trainer. The
Roundup takes place over two days and includes an elephant buffet,
elephant talent competitions, demonstration of the various techniques
used to train elephants, a presentation of ancient elephant warfare
techniques, a tug-of-war between men and elephants, and possibly the
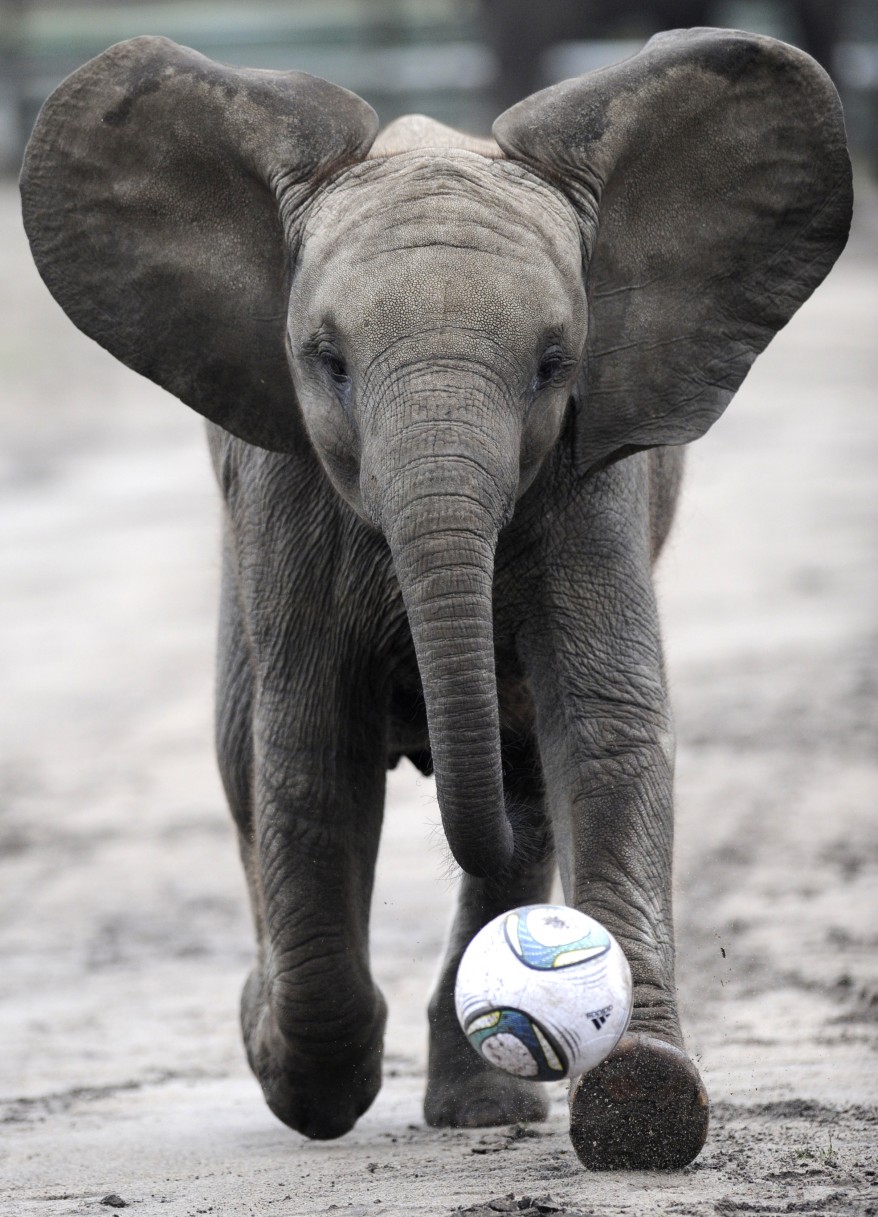
most popular event, 'elephant football'.

The Craft Class:
The
aim of this class is to introduce the concept of the elephant roundup
and all the truly amazing things that elephants can do. Vocabulary
includes actions and phrases such as 'dance' 'eat breakfast' and 'play
games'. Materials include flash cards, a short film, a cut-out
elephant, a mask, and various worksheets for early-finishers. You'll
also need a projector or laptop, loads of crayons, scissors and some
sellotape.
For the main project you will need:
●scissors
●pencils and pens
●cello-tape.
You will also need:
1 copy of the flash cards
A copy of each of the handouts per child
A photocopy of the elephant (printed on card-stock)
A photocopy of the elephant mask (aso printed on card-stock)
Procedure:
○ Start with a quick game of 'instructions', speeding up little by little as you go (stand up, turn around etc). Add a few new 'animal instructions' and demonstrate what you mean (be a tiger, be a giraffe, be an elephant).
● Show the flash cards and elicit the vocabulary. Act the actions as you go (Dance, Play Football, Play Games, Paint, Fight, Eat Breakfast). Drill pronunciation and stick cards around room for a quick game of 'say and point'.


● Ask kids which animal can do all the actions in the flashcards. Encourage all guesses, but if they don't seem to be getting near, give them a little hint or two. When they've got it, show surprise and ask if they're sure. Then hit 'em with the video! Try to encourage them to call out the actions that the elephants are doing (a bit weird in present simple, but if they're not at continuous stage yet, you can ask them "what can the elephant do" instead or "what is it doing")
For the main project you will need:
●scissors
●pencils and pens
●cello-tape.
You will also need:
1 copy of the flash cards
A copy of each of the handouts per child
A photocopy of the elephant (printed on card-stock)
A photocopy of the elephant mask (aso printed on card-stock)
Procedure:
○ Start with a quick game of 'instructions', speeding up little by little as you go (stand up, turn around etc). Add a few new 'animal instructions' and demonstrate what you mean (be a tiger, be a giraffe, be an elephant).
● Show the flash cards and elicit the vocabulary. Act the actions as you go (Dance, Play Football, Play Games, Paint, Fight, Eat Breakfast). Drill pronunciation and stick cards around room for a quick game of 'say and point'.


● Ask kids which animal can do all the actions in the flashcards. Encourage all guesses, but if they don't seem to be getting near, give them a little hint or two. When they've got it, show surprise and ask if they're sure. Then hit 'em with the video! Try to encourage them to call out the actions that the elephants are doing (a bit weird in present simple, but if they're not at continuous stage yet, you can ask them "what can the elephant do" instead or "what is it doing")
Uploaded by phumin00 on youtube.
○ At this point decide if you want to do a map thing or not. I tend to pull up a world map on the whiteboard and help them find Spain and the UK before letting them guess a bit as to where Thailand is. When they find it I give them the handout and get them to colour and label the 3 countries. I'm doing this with each Craft and Culture class, so the students that come back are getting a bit of a collection!


● They
are now ready to make their 3D elephants. You've got to keep a really
strict eye on time, as they will have to colour in both sides of the
elephant, cut them out and still have time for the mask and a worksheet or two!
*ADVICE* Don't do what I did which was to give them the option of colouring-in with pens. It takes too much time and the pens run out! Best to stick to the old favourites: pencils or crayons.


● When they've coloured in the first side, get them to cut them out, flip 'em round and colour the backs. Give them a piece of scrap paper each to protect the tables from wild colouring-in skilz ;) Finally, show them how to cut the slits and construct the elephant, adding a bit of sellotape to the legs and ears as you go so they don't fall off.
*ADVICE* Don't do what I did which was to give them the option of colouring-in with pens. It takes too much time and the pens run out! Best to stick to the old favourites: pencils or crayons.


● When they've coloured in the first side, get them to cut them out, flip 'em round and colour the backs. Give them a piece of scrap paper each to protect the tables from wild colouring-in skilz ;) Finally, show them how to cut the slits and construct the elephant, adding a bit of sellotape to the legs and ears as you go so they don't fall off.

○ As each kid finishes off, you can give them a photocopy of the mask to colour in and cut out. The littler students will need help cutting out the eyes of the mask, and attaching the string.


 Y ya 'sta! Elefantastic! :D


 Prep 20 mins
  Cook 25 mins


